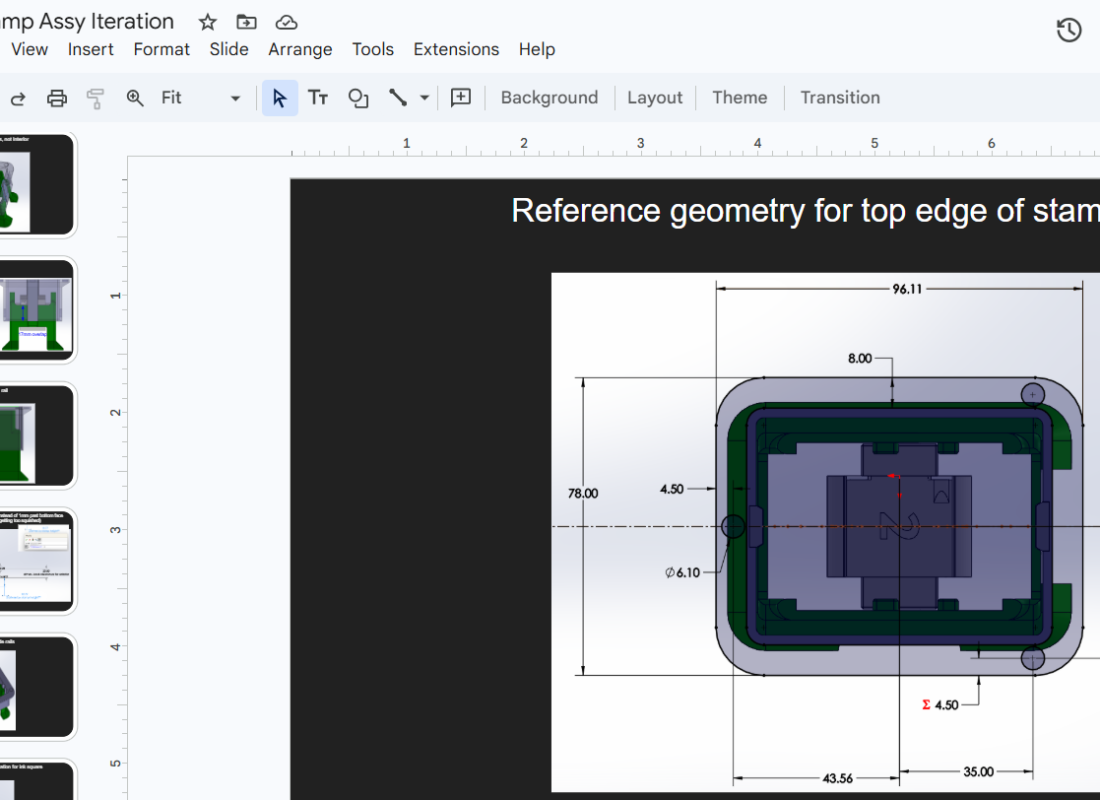
 Slide deck of CAD screenshots to document design decisions
About
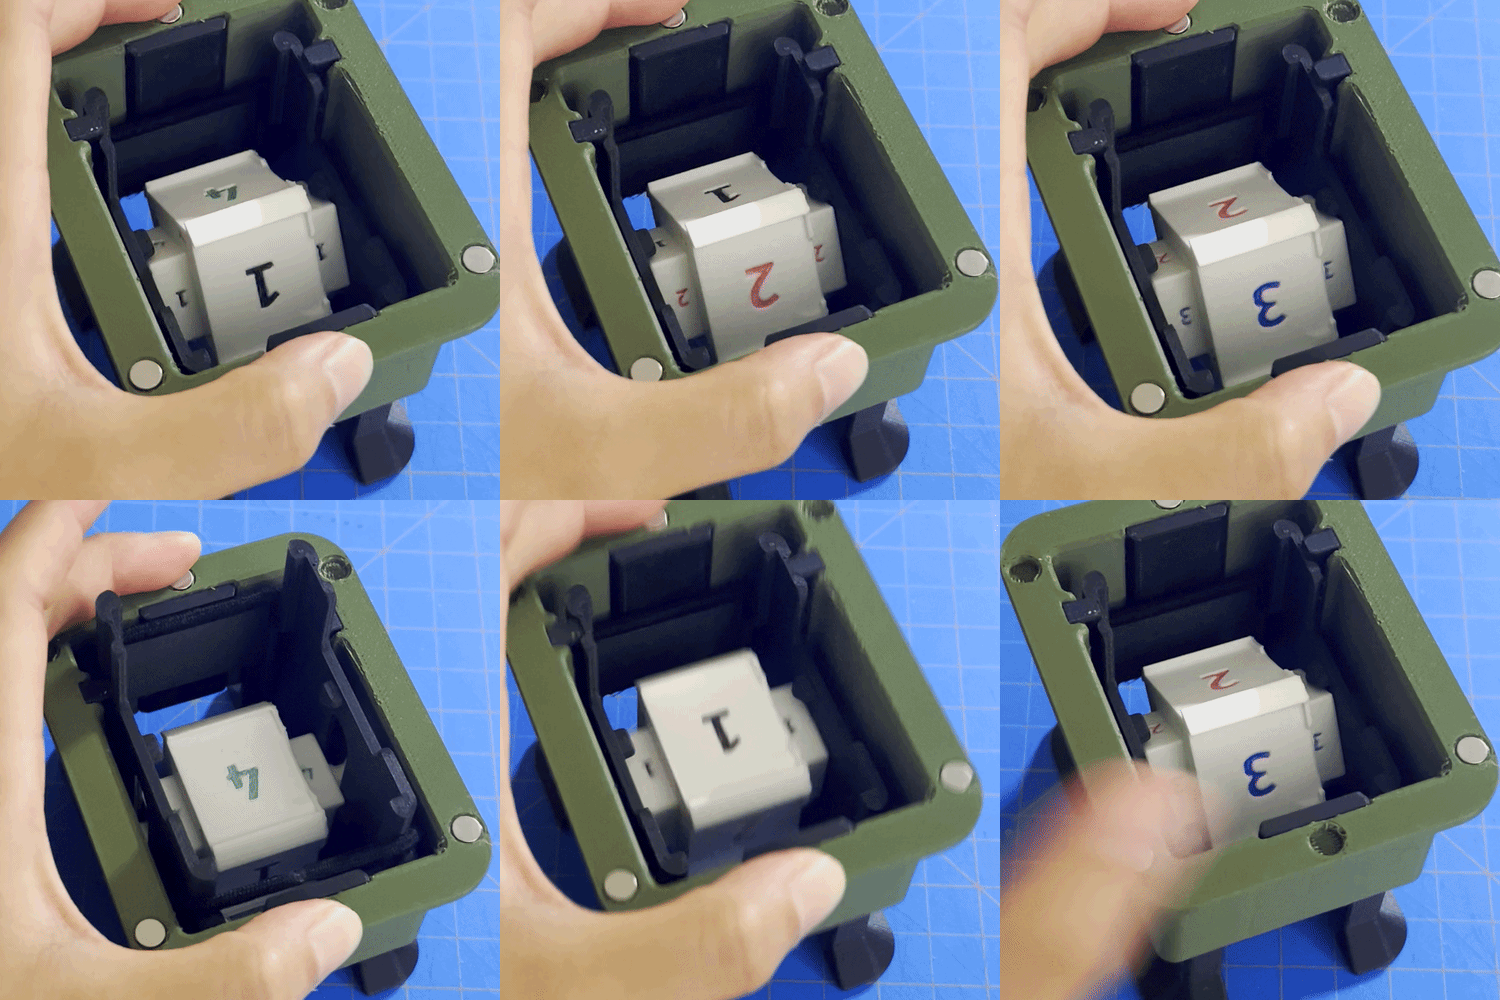
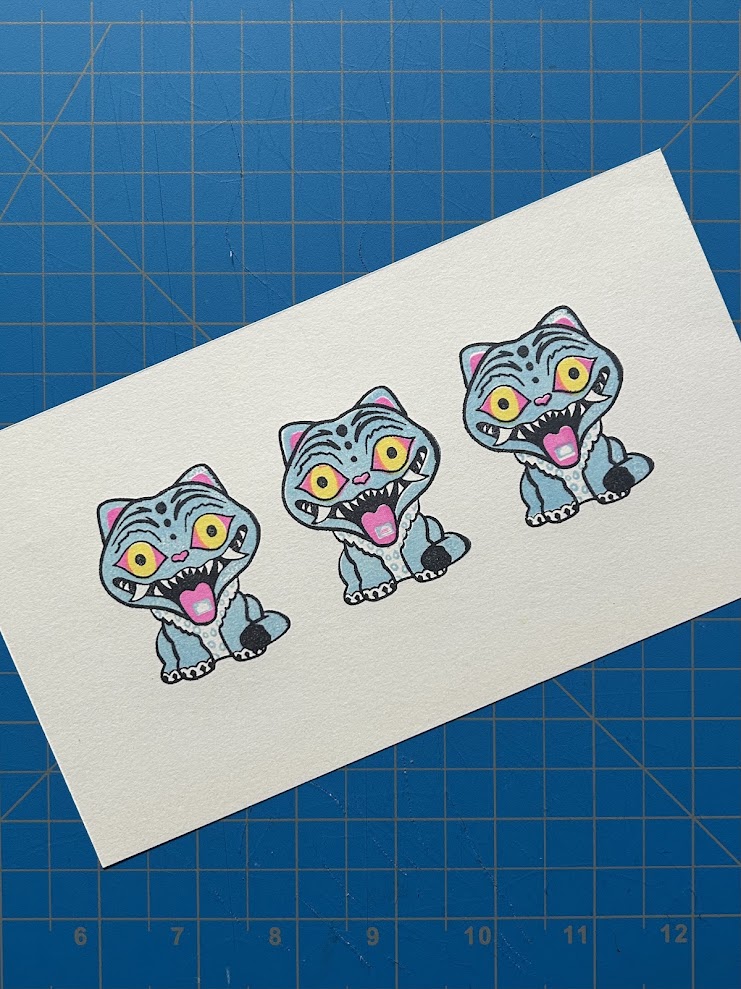
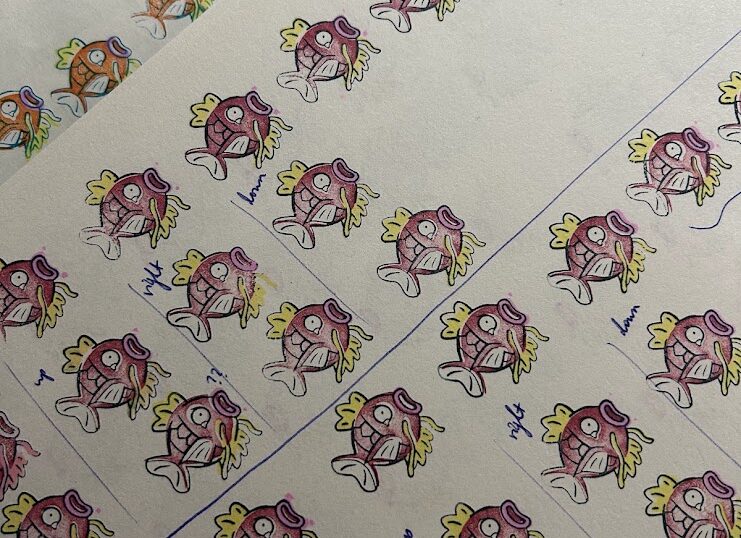
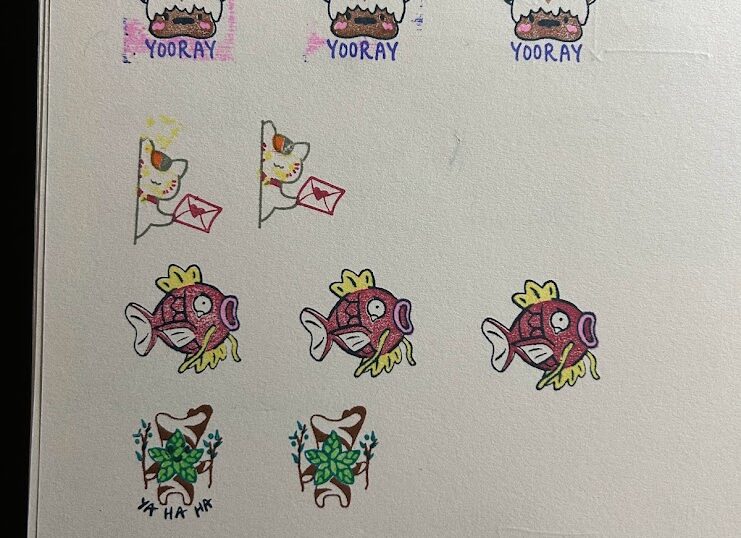
In summer 2025 I came across a video of a rotating multicolor stamp that used pre-inked stamps (pre-inked: the stamps have an ink reservoir that seep through the micro-porous rubber design). I had been on a mechanism rabbit hole and the rotational motion fascinated me, so I slowly invested more and more time into recreating my own version until I ended up with this 3D printed, self-inking version.
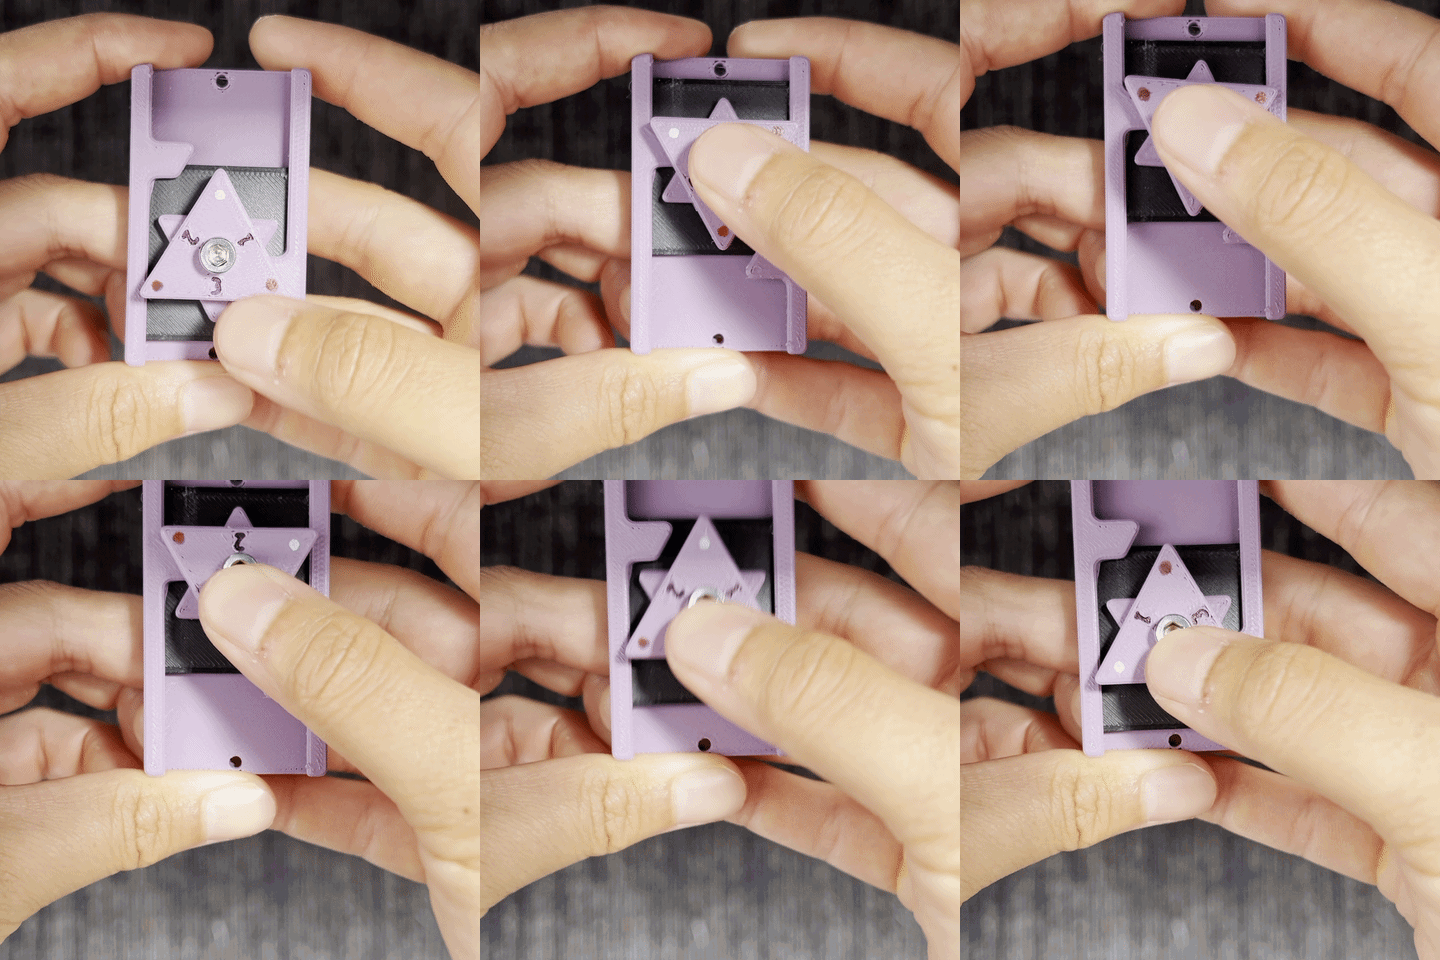
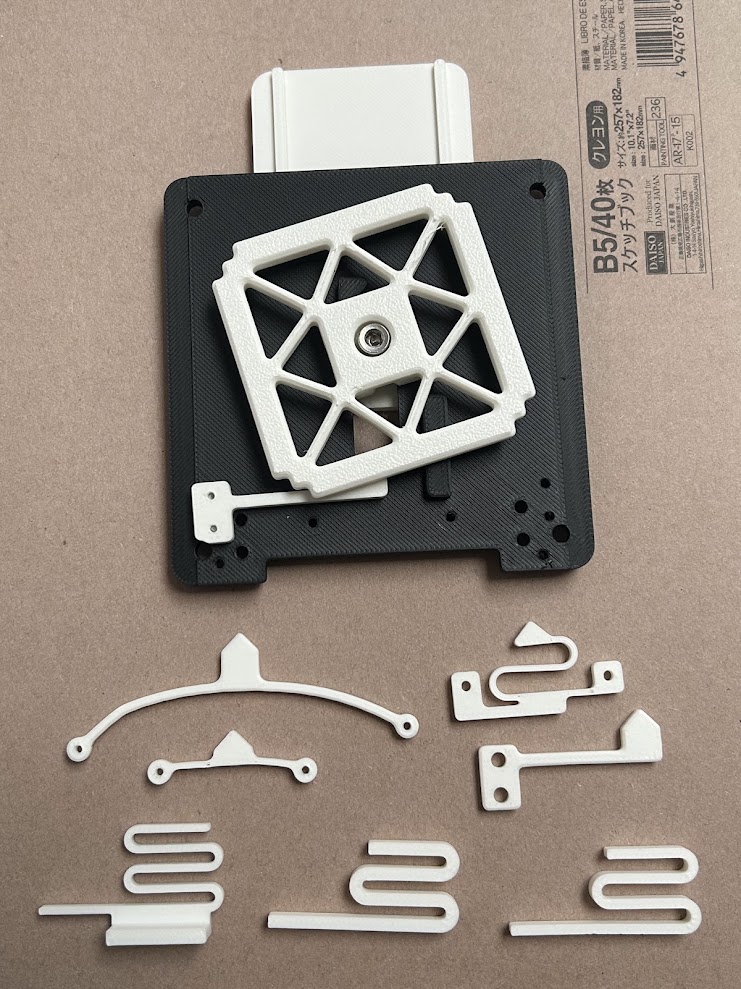
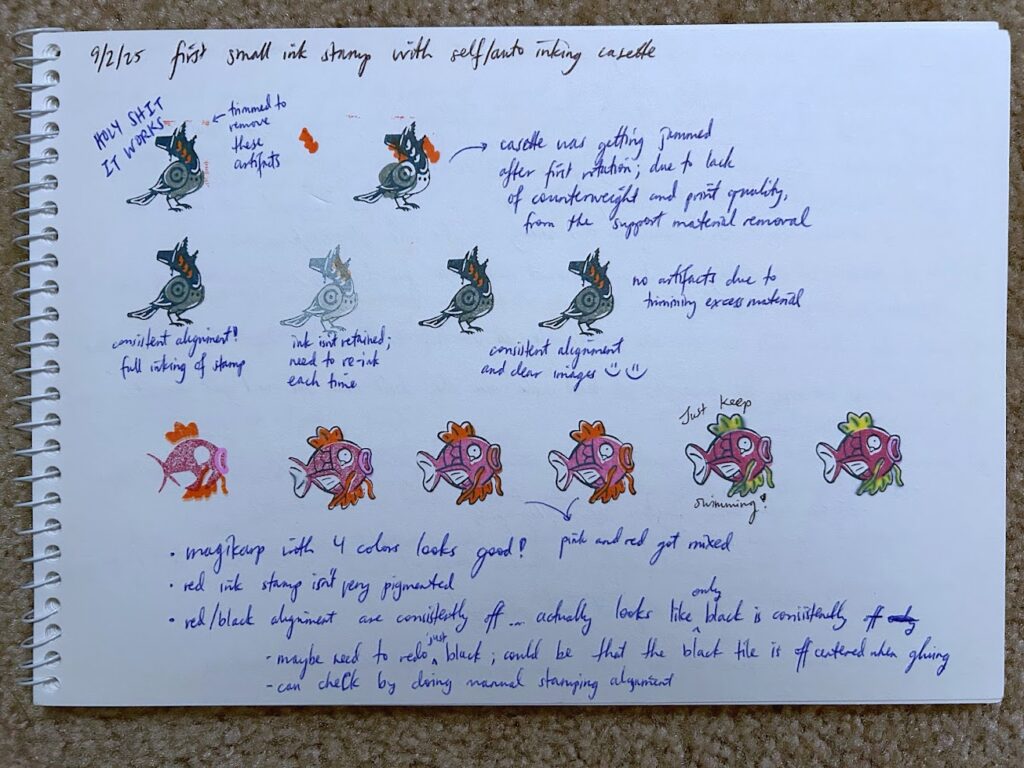
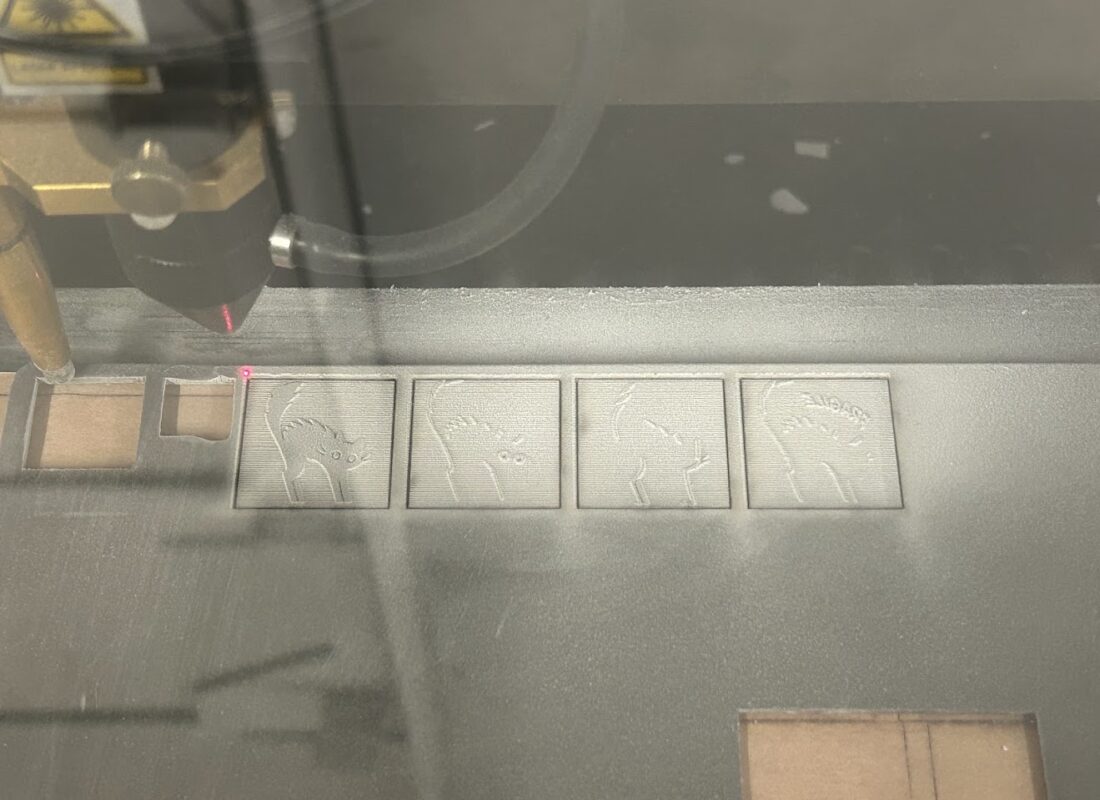
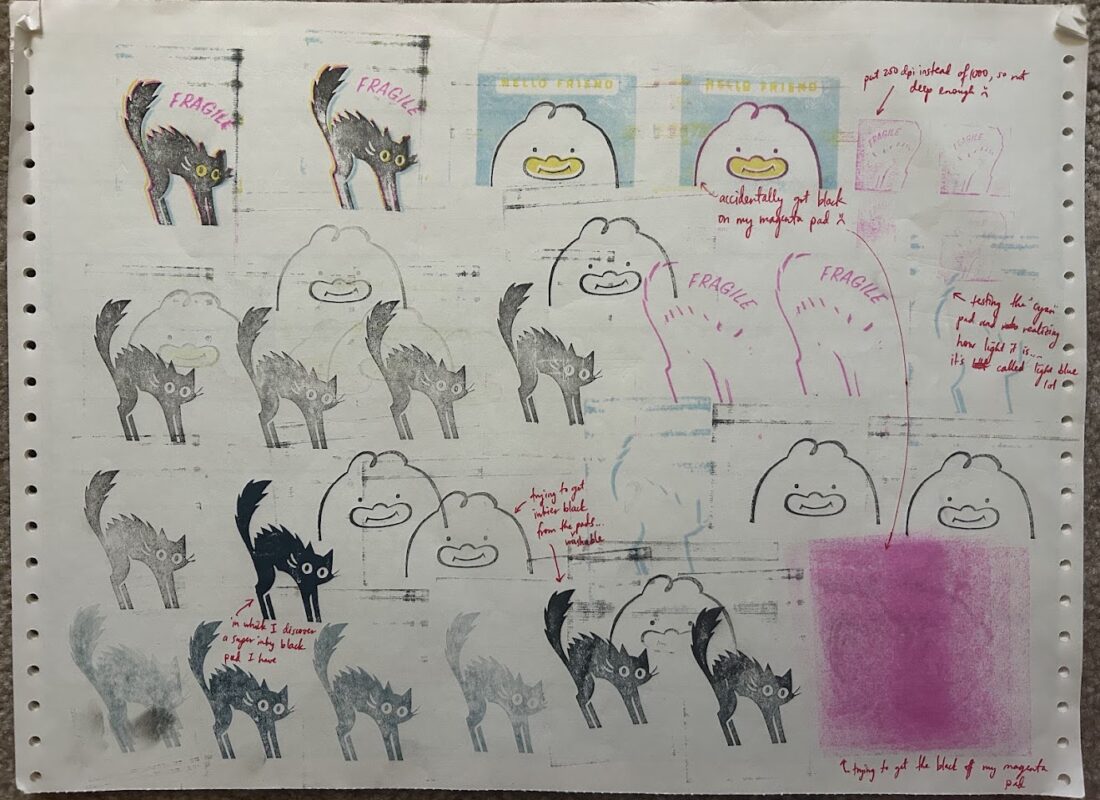
The primary indexing mechanism was initially inspired by this project on printables, where indexing bosses interact to spin a central block. The stamps are laser engraved rubber on printed adapters that slide in and out so they can be swapped and cleaned easily. Similarly, the ink pads are mounted to adapters that slide in and out to correspond to the stamps. I made two versions, a small one for 25x25mm ink pads and a bigger one for 75x45mm ink pads. Documentation was done both in a paper notebook to track progress of the stamps with each iteration and a slide deck with CAD screenshots to track modifications.
Features:
- All-in-one, self-inking and autorotation of the stamps and corresponding ink pads to generate the full multicolor (up to 4) design
- Swappable stamp adapters, with interference fit at the end as positive feedback for bottoming out
- Interchangeable ink pad mounting, compatible with 3 major ink brands but customizable for other brands/ink pads as well
- Ink pad mounting method is reversible, meaning the adapters can be removed without damaging the ink pads
Notable issues encountered and troubleshot:
- Alignment of each rotating face was tricky due to the clearance needed for printed parts to slide smoothly without catching/seizing. Ultimately I built in rails with trapezoidal cross sections for self-centering, and found the right amount of clearance to compromise alignment without catching.
- The rails kept the inner and outer housings aligned during the vertical pushing motion, but the layer lines sliding against each other resulted in the motion being loud and grating. This was resolved by splitting the rail bosses out so they could be printed with the layer lines in a different print orientation and glued in afterward.
- Even though parts were designed to use minimal supports (45deg lead ins added to overhang features to eliminate support wherever possible), the inner and outer housings took upwards of 3 hours each to print on my bed slinger printers. To allow for faster iteration, I split the housings into 2+ parts, modularizing so I could mix and match different concepts for testing.
- Due to the size of the assembly relative to the size of the stamp, it was hard to accurately align the stamp design if you wanted it in a specific location. I added a slot to attach a crosshair frame for alignment, or any other future adapters.
- As I made more and more edits in the design tree, and as I included compatibility to new ink pad brands, the mechanism features had to be shifted and millimeters pinched here and there. The difference between the design tree of my first models and the final models shows learnings over time on feature organization into folders and variable-driven equations instead of manual adjustments.
Skills
Iterative prototyping, mechanism design, design for 3D printing and laser cutting, Adobe Illustrator